One of our Gumtree.com (an Australian equivalent of Craigslist) finds while in Australia was a $25 old but solid wood table. It was square, large and we kept it in a corner to hold knick knacks and our tiny TV. So when the packers came to move our stuff, my first instinct was to throw it away, but then better sense prevailed and it was shipped along with our other stuff.
The original table:


2. Then I added a layer of foam, about 1 inch in thickness. The foam leveled the edges.

3. I was pretty sure that I wanted rounded edges. I have seen other DIYs where the fabric is pulled tightly across the edges to create a rounded look. But I decided to cut my second layer of foam at a slant.

This is what it looked like after cutting.

By the time it was finally unpacked in our new house, I knew I had to convert it into an ottoman. It was the perfect height and size for two sets of feet. It took me about 2 hours to complete the project and I took help from the upholsterers re-doing my sofa at that time.
The original table:
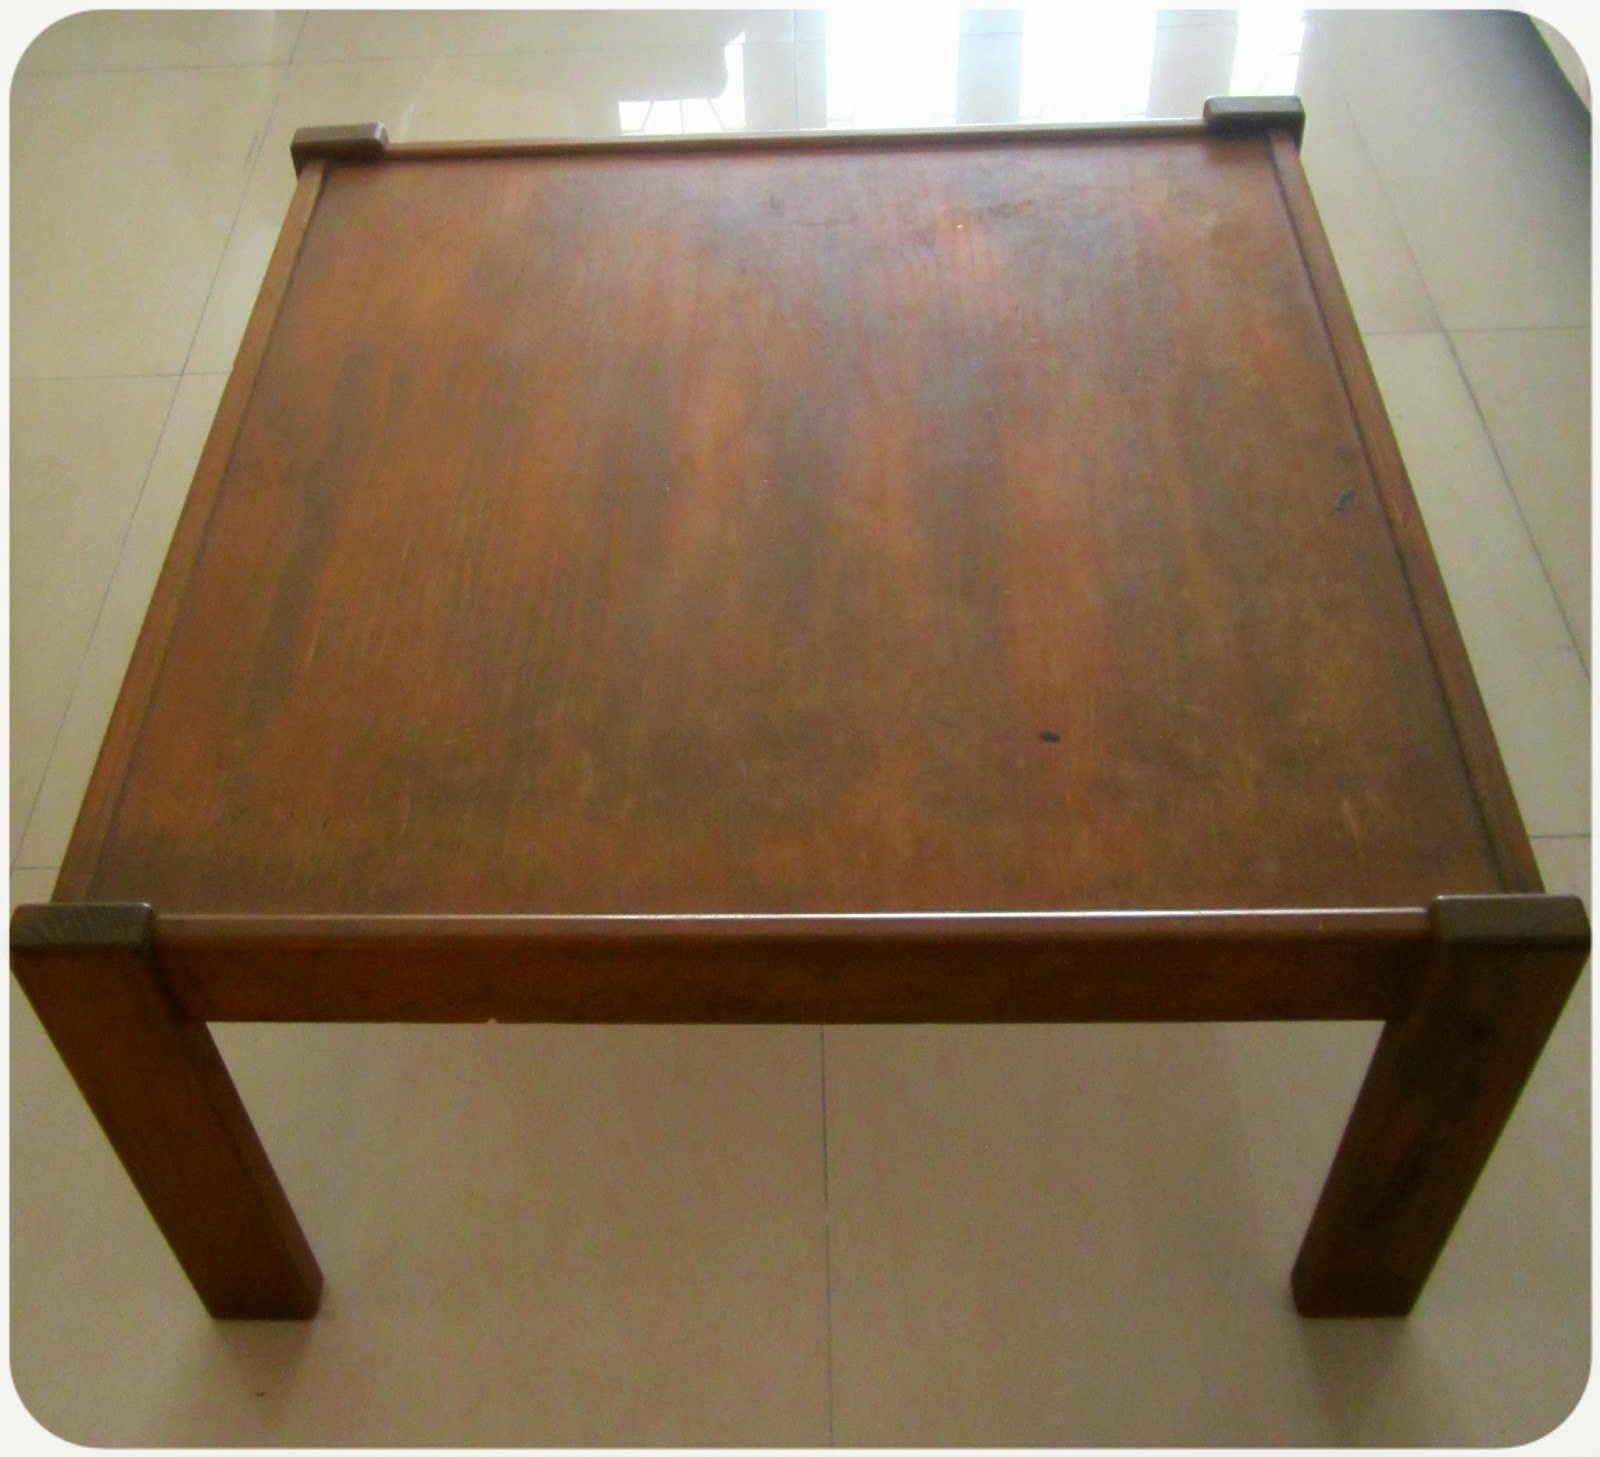
It was in a bad shape and urgently needed a coat of something. I had about 1.5 meters of leftover fabric which I used to upholster the table.
This is what I used:
1.5 mtrs of fabric
2 pieces of foam -
Rubber glue
Stapler
Curved needle
Thread
Wood polish
Here is how to turn an old table into an ottoman:
1. I thoroughly cleaned the table and applied a layer of rubber glue. Then let the glue dry for a bit

2. Then I added a layer of foam, about 1 inch in thickness. The foam leveled the edges.

3. I was pretty sure that I wanted rounded edges. I have seen other DIYs where the fabric is pulled tightly across the edges to create a rounded look. But I decided to cut my second layer of foam at a slant.

This is what it looked like after cutting.

4. I then flipped the foam over and the edges were then firmly pressed down. With the foam cut at a slant it was easy to give the edges a curved, rounded look


5. Here is how it looked just before upholstering.

6. I decided to skip the layer of batting that I have usually seen in other DIY projects. The fabric I chose was thick enough to hold up on its own. The fabric was laid on the top and with a staple gun I tucked the fabric edges under the table. You must fold the fabric about 1 cm before stapling to conceal the raw edges.

7. Here is how I did the corners. The corners are the most difficuilt in this easy DIY and need a bit of patience.

8. Neatly fold the corners and secure all four sides with a temporary nail.

9. Finally use a curved needle to stitch the edges. A curved need is usually used by upholsterers to finish slip seams. It is very easy to use and the results are very neat.

10. I finally applied a coat of wood polish to the legs. Ideally this should have been the first step, but I forgot about it.
Voila! The table is now good as new!


Here is what a curved needle looks like.


aaww a job done so well ... brilliant !! :D
ReplyDelete